Ezvid Inc. is a Los Angeles-based software and media company established in 2009.
-
Ezvid Wikimaker
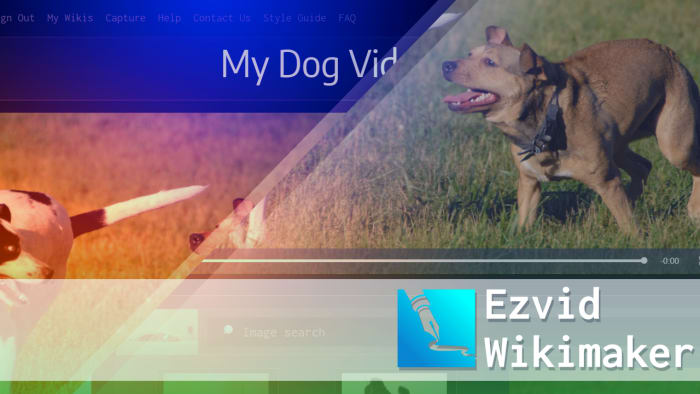
Ezvid Wikimaker was the online tool that anyone can use to make video wikis for Ezvid Wiki. Currently in beta, this innovative web application transforms text into speech, and tightly streamlines the usually laborious process of sequencing script, images, and video sources into a compelling narrative.
-
Ezvid For Windows
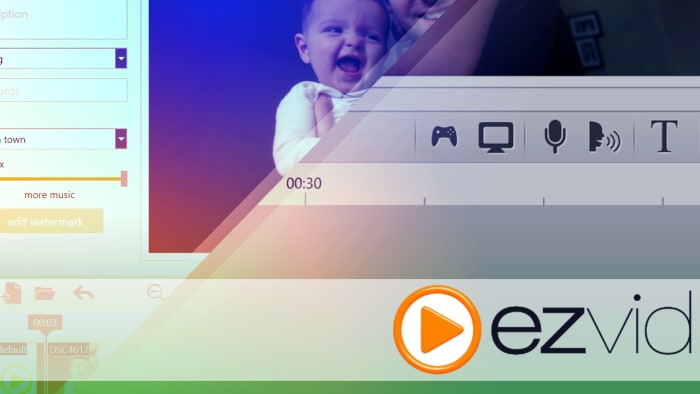
Ezvid For Windows was a full-featured video editor and screen recorder, which has been used to create millions of videos for YouTube, Facebook, and other user-generated content websites.
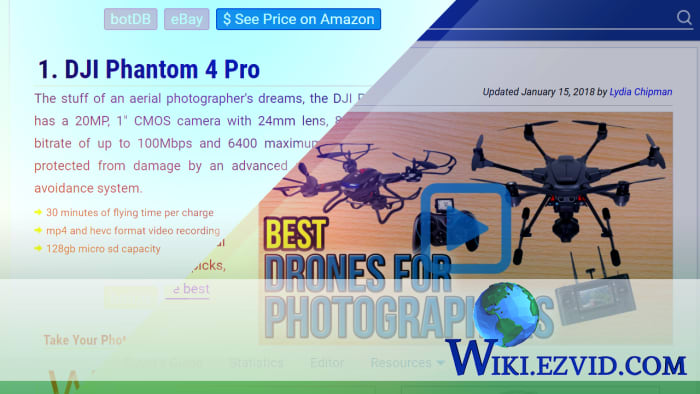
Ezvid Wiki